| You will have 8 matching triangles from your main pattern fabric; 4 same size background color triangles and 4 rectangles.
| 
|
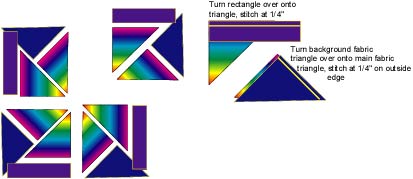
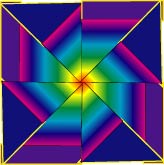
| Arrange the main fabric triangles in a spiral shape as shown. Alternate the background fabric rectangles and triangles next to the center triangles as shown.
| 
|
| For each corner of the block, you will piece together to make a square (4 total). I'm showing the upper right corner square being pieced here.
| 
|
| After stitching, open the pieces back up and press the seam towards the main fabric. The rectangle is longer than the triangle - you'll trim later.
| 
|
| Match up the diagonals of the square by flipping the upper left piece over the lower right piece, and stitch (again - 1/4")
| 
|
| Trim off excess material
| 
|
| Unfold and press seams open
| 
|
| Repeat 4 times for each corner square.
| 
|
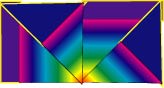
| Join two adjacent quarters.
| 
|
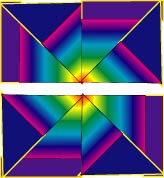
| ...then the just-made halves
| 
|
| ...then the just-made halves
|
|
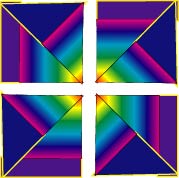
| And there you have a finished block!
| 
|
Until I get my own pages, here are some suggestions from other places on the web for some layouts.
See a possible Queen Layout - I wouldn't use the sashings as this picture shows, but you could. This shows how you would piece it together.
Throw layout - which is what I did. I did different borders.
Wall Hanging Layout (minus any borders)
