| |
All Night Class - Feb 1999
Click on any picture to see a larger, more detailed, version. Pictures will come up in a separate window when you click on them so you won't have to wait for this page to reload.
Enjoy the class - I sure did!
This was an all night "Stack and Whack™" class - somewhat based on the book, Magic Stack-N-Whack™ Quilts by Bethany Reynolds. The class was given at my local JoAnn's Fabrics, and was a lot of fun!
Our instructor varied from the book quite a bit, but I think her instructions were quite good, and everyone has their own style!
This is sort of a pictoral documentary of the night - but I think there should be enough info to make the blocks. I'll put together something for the instructions for the whole quilt and attach that sometime -but not yet :) All my instructions are for a throw size, which is what I'm making.
Here we all are settnig up - the store is still open at this point, but we've taken over a part of the 'downstairs' area. 
| After Jeanne, our instructor, finally got us all away from browsing fabrics and the like, she started explaining. It's hard to see here, but later pictures show it better. She's cut identical strips out of the repeating pattern on one student's material - now she's using a 'flower head' pin and lining up a specific point on all 8 identical strips. 
| Once they're all lined up exactly, you can cut a 6 1/4" square from your strip. 
|
Slice the pile of 8 squares across the diagonal, and start arranging them kaleidescope fashion... 
| Ooooh - it's looking cool already! 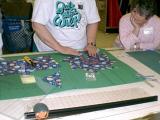
| WOW! That one pile of 8 squares produced 2 sets of 8 identical triangles - makes for VERY pretty patterns! 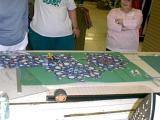
|
For the background, you need a nice color or pattern that will go with the main pattern, and you'll cut three 6 1/4" strips the width of the fabric. Cut sixteen 6 1/4" squares from this material - and then cut them in half once on the diagonal making 32 triangles. 
| Then you'll cut eight 2 3/4" strips the width of the fabric. Cut these into 32 8 1/2" rectangles (8 1/2" x 2 3/4") For each block you're going to lay a rectangle with a main-pattern triangle like so - 4 times... 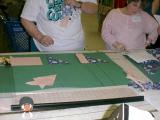
| and a background triangle next to the main-pattern triangle as shown - also 4 times. 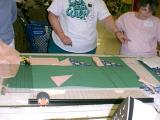
|
Here's how it fits together 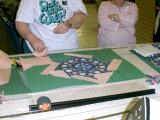
| ... and here. 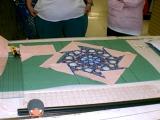
| The book has this, and several other patterns - worth a looksee, if not a purchase! 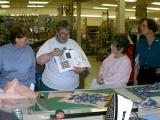
|
Everyone got to finding their repeats and cutting - I was busy buying my fabric - I hadn't yet - AND the manager of the store put a bunch of stuff on sale, so by the time I got back, there was no whacking space for me - so I munched on my snacks, and took pics of what others were doing for a while :)
Here's someone else's fabric making a pretty pattern! 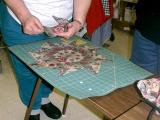
| Same fabric - totally different star - amazing how they come out! 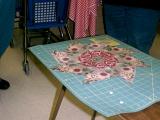
| This is a slightly better view of the aligning process. You need to pick a recognizable *point* that you can pin in each identical strip to line up - you want those flower-head pins for it so you can lay the ruler on it later. 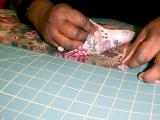
|
This was the lady who had her fabric cut by the teacher - so she got to sew her block first - how pretty! 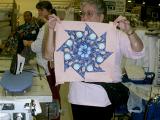
| This lady had a LOT of fabric because her repeat was about 27"!!! You need 8 repeats, (if you ahve a small repeat size, you'll need 16 repeats) so she had a LOT of pinning for alignment. She had one piece that kept buckling - she had pre-washed. Unless you're worried about bleeding, you might want to not prewash - just a thought. 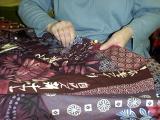
| Another pretty layout from another fabric! 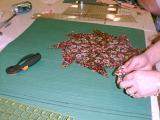
|
Pinning and aligning are the big trick to this method! When you get to what I did, you'll see it up a little closer. 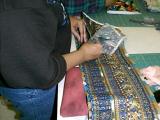
| Okay - I'm finally gonna get to do something! I got a cute alligator print - really bright. It was the last that was on the bolt, and we measured it and it looked like it should JUST barely have 8 repeats ... I didn't actually count, so I lucked out totally! I trimmed the edge, and now the right edge of my ruler is lined up with the beginning of the next repeat. 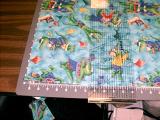
| Here it is sliced - one complete pattern. If you're off a micron or two, it's no big deal - you're going to line up 6 1/4" squares out of your 8 basically-identical strips. 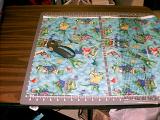
|
Go on to the next section
Stack-n-Whack™ is a trademark of Bethany S. Reynolds, Ellsworth, ME.
| |
|