Kindergarten Quilt
Click on any picture to see a larger, more detailed, version. Pictures will come up in a separate window when you click on them so you won't have to wait for this page to reload. You may have to switch over to the other window to see the picture.
Blocking and piecing the quilt
I had decided on an Attic Windows pattern - in retrospect this was either a bad choice of pattern, or just the fabric choices for the 'windows' was bad. I have a MUCH better example now of Attic Windows if you're interested in what the 3D effect is supposed to be.
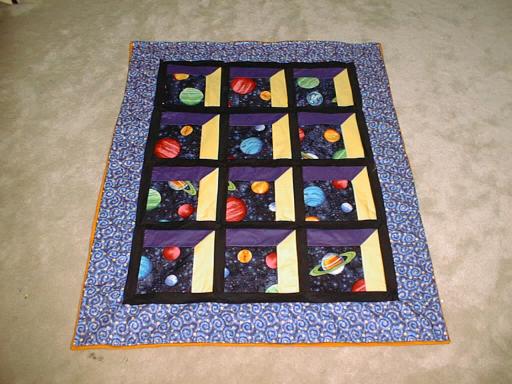
Most of the fabrics were chosen by the kids, and they wouldn't be swayed. The cloudy fabric was chosen because I had a huge amount of it... not always a good reason to pick a fabric for a specific quilt, btw.
The whole quilt still came out looking pretty neat, but I wouldn't pick a print for either edge of the window next time - you need more stark contrast for the effect.
I really regret that I didn't get pictures of the kids sitting on my lap, pushing the "gas pedal" on the sewing machine. I started each kid practicing across a piece of paper so they could see how their foot pressure would affect the stitching. Most kids just needed once across the paper, and a couple needed a second line. You'll just ahve to imagine it. I'm much better with the camera when I can take the pictures - I forget to give it to others sometimes *sighs*
I had the kids' squares here - they did ALL the sewing with me, I didn't do any of this on my own. Here's a possible layout against our sashing and border fabric. 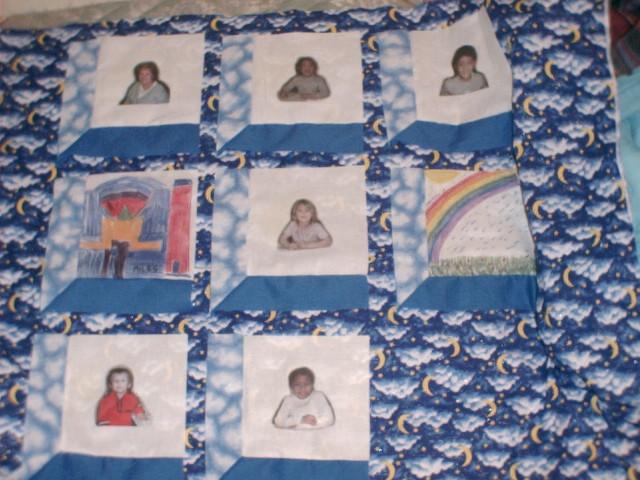
| Here's a layout with the sashing strips in between the squares. The large open area up top is for a large muslin piece we'll all sign, and the empty square near the lower left corner is for a photo of me, as yet nothing has worked for that. 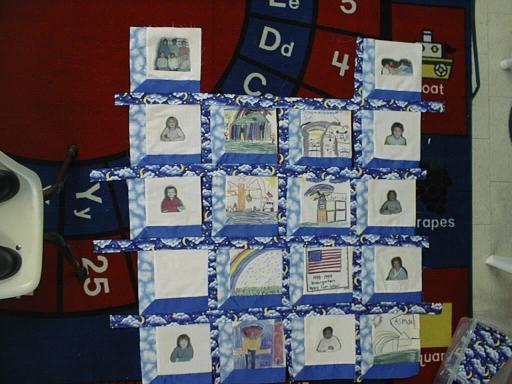
| We tried to get pics of me... 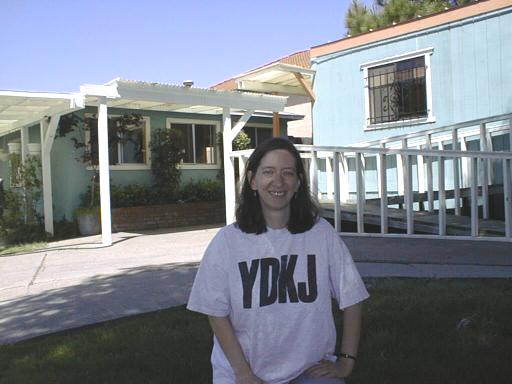
|
...every kid took one of me that day, hoping that one of them would be worth ironing on. The lighting was terrible though. 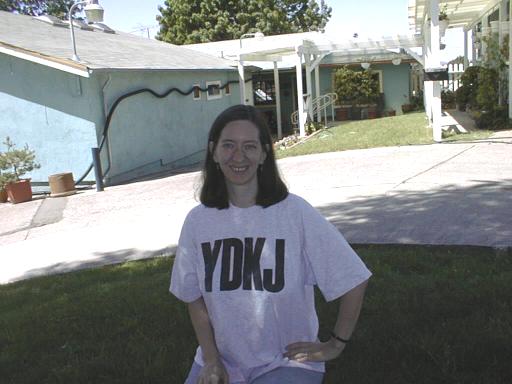
| So I decided to use a close up of mine and David's face from a picnic we took a few days earlier. Tihs picture was taken by the auto-timer! 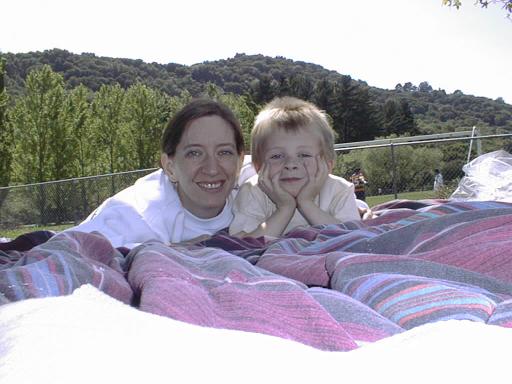
| It was the beginning of May by now, and this is how we've decided to block it. My picture is ironed on, and the signature block up top is there too. The horizontal strips were done a few days before, each kid sewed a strip to the left of their squares. Then we sewed the squares together. 
|
Stacy sewed the bottom two rows together. 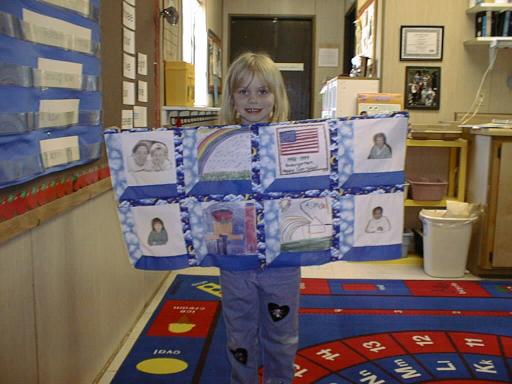
| Miles sewed the middle two rows... 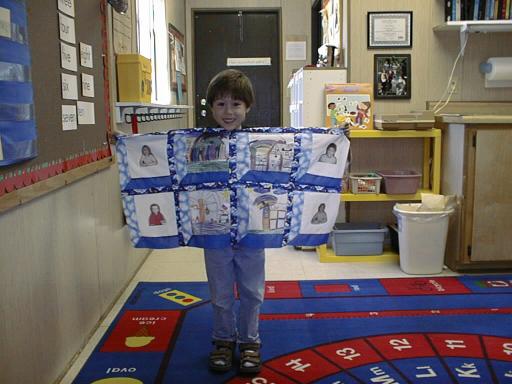
| David sewed the top row with the top border. 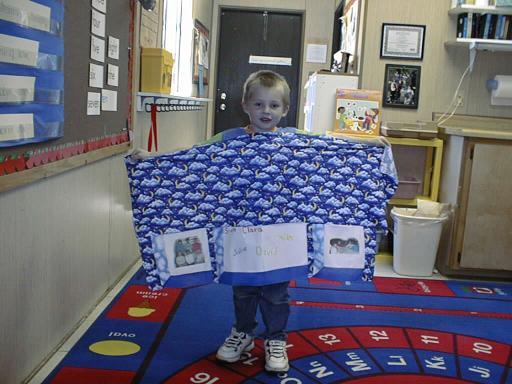
|
Clara and Scott sewed the double-rows together to make the quilt top, minus borders. 
| I finally got a very technology-shy teacher to snap a picture of me with the quilt while the Kindergarten class was rehearsing their Cinco de Mayo show in the other room. 
| Two students were missing this day, but here we are with our nearly finished quilt top, L to R, Me (Kimberly) and Julie, and the kids, David, Stacy, Clara and Scott. 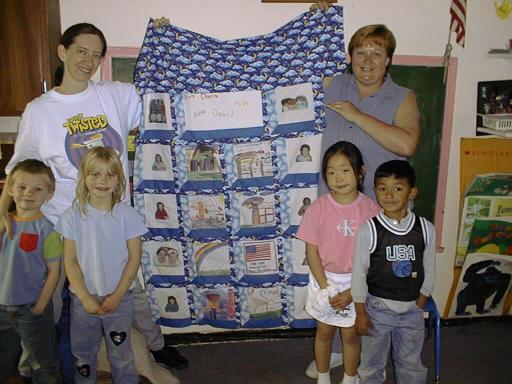
|
We blocked out what fabrics and colors we'd use for the rest of the quilt top. 
| I don't have pictures of how we got to this point, but the kids did all the sewing (on my lap) to add the starry borders, and then the yellow ones. The picture was taken at my home, where the quilt lived in between school project days. 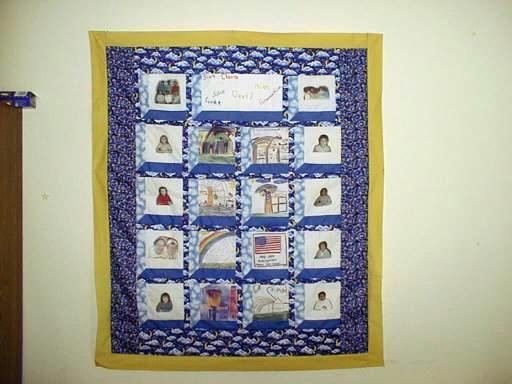
|