Stack and Whack™ - A Quilting Tutorial - Page 2
Click on any picture to see a larger, more detailed, version. Pictures will come up in a separate window when you click on them so you won't have to wait for this page to reload.
More piecing
Here I have all 4 squares pinned together (they look like triangles now, of course, since they're folded in half :) ) 
| Chain stitching them all now - one after another. 
| Pressing the seams open. 
|
The stretching thing really DOES make the corners and edges line up. Here is the back side... 
| Can't resist looking at it from the front ... but then I noticed the little corners sticking out the edge - those have to go because of all the bulk that's coming up in the centers. 
| So flip it over, and snip those corners! Another trick-photography shot! 
|
Can you believe I took a picture of the snipped corners? Well, I did! 
| Here are all 4 pieced squares, in their places. It all goes really fast, actually, once all the stacking and whacking is done! 
| Flip one square over onto the one adjacent to it - doesn't really matter if it's left-right, or top-bottom. Just make sure you know which edges to sew together after you flip it! 
|
Get one corner totally lined up... 
| ...and pin it in place. 
| Both sets, ready to start stitching. 
|
This is just a close up of the pinning of the block, with the corners well matched. Don't forget to make them match by stretching. 
| Snip off the excess corner from the seams. 
| Press the seam open. 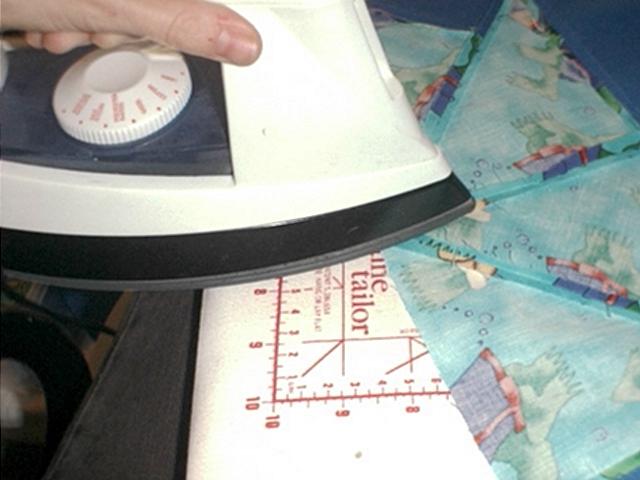
|
Now, to match up the two regtangles... Put them together, and match the center as exactly as you can. 
| Pin it in place, perpindicular to the edge, just to keep it in place. I did it a couple of inches from the actual edge for now. 
| Stretch to get one corner to match, and pin it in place. Remember to make all your corners match in each step, and they'll all line up well when the block is done! 
|
Stretch if needed to get the other side to match, and pin it in place. 
| I did an extra pressing here to get that center part, with the big lump of fabric, a bit flatter. When I remembered to do that, it sure made stitching over that part a lot easier, and the alignment didn't shift so much. 
| After stitching, press the seams open. 
|
The back of a completed block! 
| Turn it over and press. 
| And that's how you make a block! It took longer to type out these instructions than it did to make the block, really! 
|
Main Stack and Whack™ page
Next