Stack and Whack™ - A Quilting Tutorial - Page 4
Click on any picture to see a larger, more detailed, version. Pictures will come up in a separate window when you click on them so you won't have to wait for this page to reload.
Putting the blocks together.
Here are all the diagonal strips, minus the corners, pieced and put on the wall to view. 
| Piece two of the strips together - in this case, the upper right strips. 
| Then the lower left strips. There's David, my five year old, coloring in the corner. 
|
Then the two sections together. If I weren't taking pics, I'm not sure I'd have gone through all the pinning into the wall and taking down that I did, but it sure was cool to see it come together! 
| I can only take so many pictures without David having to ham it up. Here he is in the big hat Grandpa gave him, and a toy gun. 
| Another hammy pic - this one you can see his face ... and the cool King Tut shirt (which he read, on his own) that my dad and step-mom brought back from their trip to Egypt. 
|
Finally - piece the corners on. Again - if there's excess, that's no problem to trim! 
| Now is the time to square up the corners. A square rule is pretty useful for this, although probably not 100% necessary. Mine is 12", which will extend past the triangle edge, and onto the next piece, which is good. 
| Wow - it sure looks great all squared off! 
|
Here's another corner that needs squaring (they all do, I would think.) 
| Line up the ruler with the corner, both edges. 
| Another squared off corner - that just feels so much better! 
|
Back on the wall, with squared off corners! 
| Now for the side borders! The piece I had was longer than the edge of the quilt, so I just cut a 2.5" strip (included seam allowance, it ends up being 2" in the end) and attached it to the side edges. 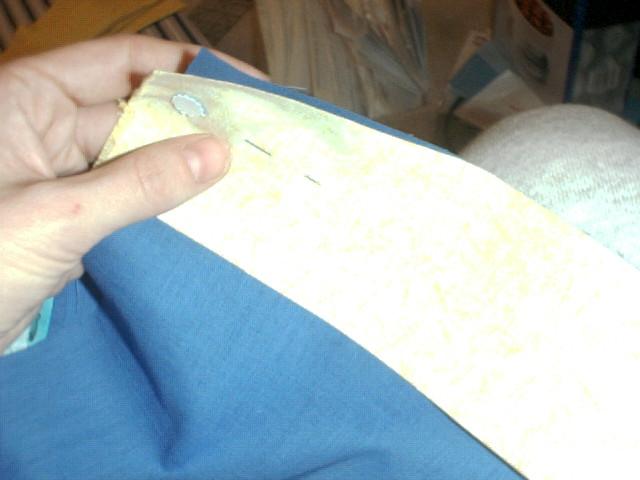 At this point a friend of mine mentioned that she never pins when she quilts, she just finger pins (i.e. holds it together as she goes) and just goes for it. I had one mishap where I sewed on the border without the top being underneath (doh!) but after that I went a little slower, and paid a little more attention, and it went pretty well. For straight seams like this, with no matching points, it's not a bad way to go if you're brave (and have become intimate with your seam ripper, just in case!) At this point a friend of mine mentioned that she never pins when she quilts, she just finger pins (i.e. holds it together as she goes) and just goes for it. I had one mishap where I sewed on the border without the top being underneath (doh!) but after that I went a little slower, and paid a little more attention, and it went pretty well. For straight seams like this, with no matching points, it's not a bad way to go if you're brave (and have become intimate with your seam ripper, just in case!)
| The color contrast looked so cool when I first finished stitching, I was just tickled! 
|
Back on the wall, with the side borders on. 
| I got tired of pinning it up all the time. Here it is on the floor with the top borders on too! 
| Okay - so I couldn't resist putting it on the wall for a pic :) 
|
I was a little overwhelmed with going on to the next step, and I wanted to see what would happen if I tried doing 60 degree triangles. I'll probably make a pillow out of this. 
| Same method, I attached the blue borders on the edges. 
| ...and on the top. 
|
Main Stack and Whack™ page
Next