Stack and Whack™ - A Quilting Tutorial - Page 5
Click on any picture to see a larger, more detailed, version. Pictures will come up in a separate window when you click on them so you won't have to wait for this page to reload.
The quilting process
 Now I had to figure out how to cut the backing. I'm sure there were other, better ways to do this, but I just pinned up the 6 yards I had bought, and cut a few inches after the edge. Then I pinned the remainder on the left size, stretched across, and cut it to match the first piece, more or less. I worried a lot that I hadn't left enough margin later, but I did okay with just about 4 inches longer than the quilt top. I stitched the two halves together, without pinning, and pressed the seams. Now I had to figure out how to cut the backing. I'm sure there were other, better ways to do this, but I just pinned up the 6 yards I had bought, and cut a few inches after the edge. Then I pinned the remainder on the left size, stretched across, and cut it to match the first piece, more or less. I worried a lot that I hadn't left enough margin later, but I did okay with just about 4 inches longer than the quilt top. I stitched the two halves together, without pinning, and pressed the seams.
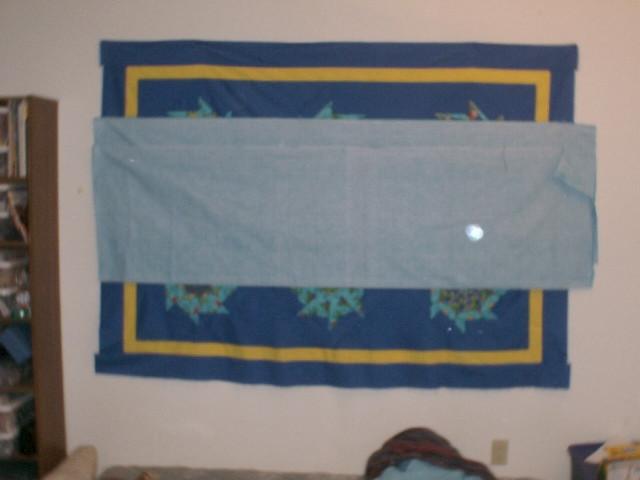
|  I had to find a place to baste the quilt together, without my customary feline helpers. I brought the top up to my step-daughter's room (she doesn't live with us anymore, but it's still her room until we do something else with it.) I spread it out on the bed and it looked pretty good! I had to find a place to baste the quilt together, without my customary feline helpers. I brought the top up to my step-daughter's room (she doesn't live with us anymore, but it's still her room until we do something else with it.) I spread it out on the bed and it looked pretty good!
| Another view on the bed. This gives a better idea of the size of the top too! 
|
I smoothed out the backing on the floor. I had a good view of about 4 kitty paws coming in from under the door. They do NOT like being left out! If I had had masking tape I would have taped the backing to the floor as is always recommended. It was 2am and I didn't have any, and I wasn't going to wait till morning to work on it! 
| I forgot to square off the top, so I dragged the top, and the camera, back down to where the cutting board is in my office, and squared it off. 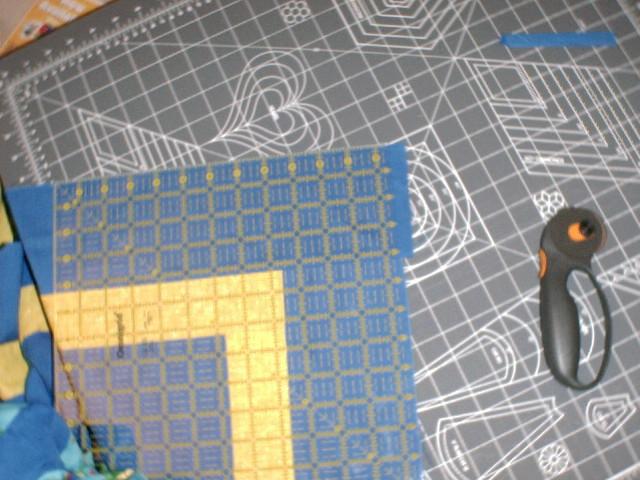
| Back upstairs, I spread a Warm and Natural cotton batting over the backing. 
|
After smoothing it out, I put the top on the batting, and smoothed, smoothed, smoothed it. 
| Here, after smoothing, I had to find the center - and there it is. 
| I stuck a basting safety pin through that center spot. This was kind of a mistake. I had already decided to quilt in the ditch, so I should have made it slightly OFF center, not on the actual seam where I would be quilting later. No biggie. 
|
Then I smoothed out towards the edge, pinning at regular intervals in an outward fashion. First in the short direction, then the long direction. 
| This view, looked at in the big picture, gives an idea of the spacing I used. 
| I found out later that my spacing wasn't really as tight as it should have been. It's recommended that you space the pins out every 3 or 4 inches, and I was closer to 10-12" in some places. I only had one box of the pins though, so I couldn't have done it differently even if I'd known. I have another box now, so next time I'll probably pin more. It didn't seem to mess anything up though! 
|
Once basted, I trimmed around the edges. Some instructions say to leave about 4" on each side. I didn't realize that until after I cut it down to 2". Again, it worked out fine anyway, but I worried for quite a while! 
| The whole quilting 'sandwich' after trimming! 
| Another view. 
|
I rolled it up to start the machine quilting. I was sure that it was going to be way too bulky to work with my cheapie Brother sewing machine, but it sure rolled up thin! 
| Then rolled the other edge to meet it. 
| That center area has the first 'ditch' for me to 'stitch'! 
|
Here it is, in the machine! I lined the needle up with the starting point. 
| This is a view of how it fit into the sewing machine area. 
| Here's a close-up, I'm holding the top thread, so I can use the fly-wheel to pick up the bobbin thread, and bring it up to the top. 
|
Now I have both top and bottom threads... 
| ...so I did a couple of stitches, backstitched and off I went down that 'ditch'! 
| I used a light blue thread, which matches the backing, and here it is in the front. Not very noticable, which was fine :) 
|
I went to reroll it to get the long center seam in the center of my roll-ups. I had an instant helper! 
| Basting pins looked a lot like toys - she tried to make off with them, and of course was thwarted! 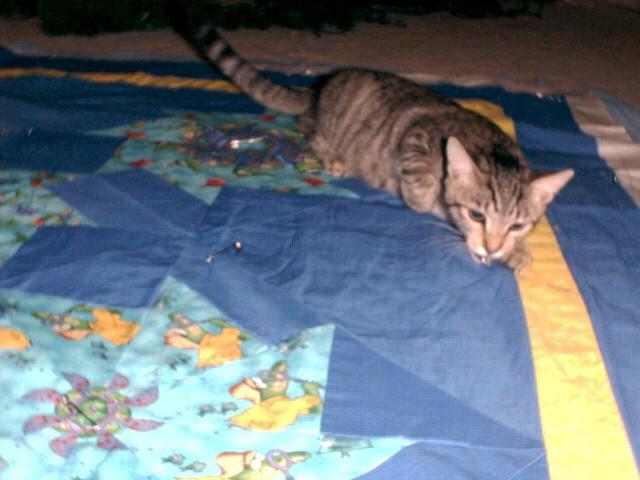
| Everything is a play ground at 3am to a young kitty! 
|
She isn't really a devil-cat with glowing eyes - although she was certainly a little imp! 
| Last chance to check it out before it goes back to the office. 
| Okay - I guess it's break time for me too. I highly recommend Captain Crunch with Crunchberries if you're hungry at 3:30 am! 
|
I plopped the quilt down while I ate, and it attracted two cats instantly - sheesh! 
| Another pic of me stitching along the seam. You can see here that I had to remove and replace the pin since I placed it too close to the stitching area. 
| I also stitched on the ditches around the border. This made a really neat design on the backing, I think! 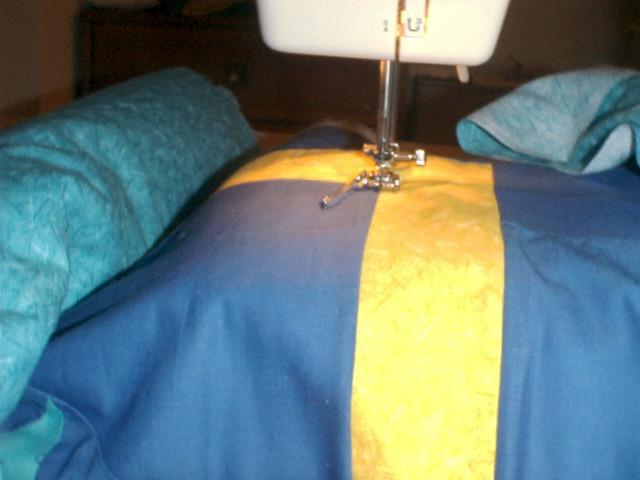
|
Holding the quilt while stitching was kind of unweildy, but not too bad. 5 year old David did a pretty good job taking the picture! 
| Finally, I stitched about 1/4" from the edge of the top. 
| ...all the way around. 
|
Then I trimmed the batting. 
| Again, I realized after cutting that I could have/should have left more. I left about 1/4" and I've since seen instructions that say to leave 1/2". 
| It still worked out fine! 
|
Here's the quilted top, laid out on it's intended final resting place - the family room futon. 
| This is a closer look at the corner flipped over. If you look at the big picture you can see the quilting on the back. 
| Quilt on a couch? Cat magnet! 
|
Double cat magnet! 
| Pumpkin thinks there is a mouse hiding under the quilt, no doubt. 
| The next day David insisted on cuddling up in the quilt. I think he's been as excited as I have! 
|
It covers him quite well! 
|
Main Stack and Whack™ page
Next