I measured around the quilt, and came up with a need for 7 width-wide (44") strips for binding. I practiced on a sample first, and decided 3" strips gave me the effect I wanted. 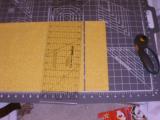
| So I made 7 3" strips, the width of my yellow fabric. 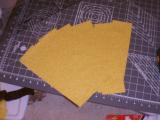
| Now to piece one LONG binding strip. I line up two strips, right sides together, at a 90 degree angle. 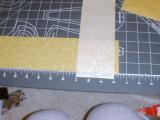
|
Then pin it securely on the upper left, and lower right. 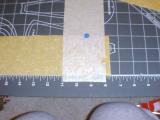
| Take a straight edge from the lower left corner where the strips meet, to the upper right point where they meet, and draw a line along that diagonal. 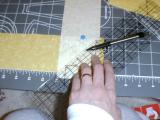
| You can see the line in the big picture a big better. 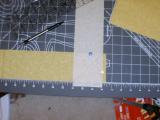
|
Sew along the line, using a couple of backstitches to secure it. 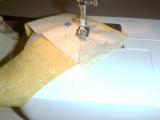
| Cut off the excess material, leaving about 1/4" after the seam. 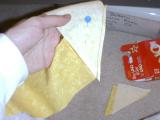
| Press open and trim the little points of fabric. 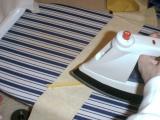
|
This is the front, with the diagonal seam, for strength. 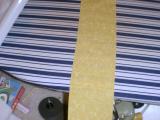
| After piecing all 7 pieces together in this fashion, it was time to press it in half all the way down. Press wrong sides together, right sides visible. 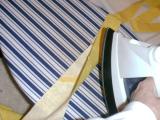
| I ended up with a great long snake of a binding strip, 1.5" wide all along. 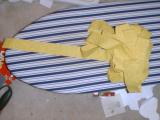
|
Cut one end at an approximate (accuracy not as important here) 45 degree angle. Press 1/4" of the edge over. This is going to be the part where the binding meets itself on the edge of the quilt. I should have done this before the first pressing - as you can see, I had to unfold it momentarily to do it. 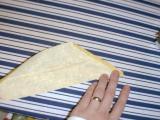
| When folded back up, this is how it looks. 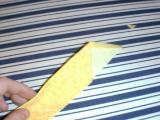
| Then re-press it flat! 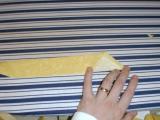
|
Now I'm sewing the binding to the quilt! I lined up the raw edges, with the binding on top of the quilt, and started stitching about 8" away from one of the edges. I did several very small stitches (0) then a couple of 1 stitches, and then back up to about 3.5 where I usually am. That secures the thread in place. 
| When you get to the corner, fold the strip directly up, which will make a 45 degree angle. 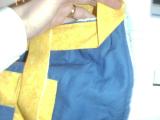
| Then, keeping the angle in place, fold the strip back down, making the fold align with the top of the strip you just finished. This will make nice mitered corners, automatially, when you fold it around the quilt edge later. 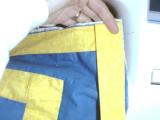
|
After stitching it all the way around the quilt (woo hoo!) I snipped it off with a bit to spare. 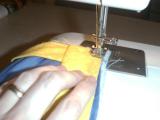
| Then I tucked the strip into the beginning part of the strip. This took a little coaxing and prodding. 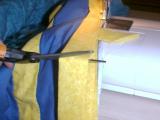
| I had to trim it again to get it to stuff in the other end. 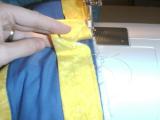
|
Finally got it lined up okay to tuck in... 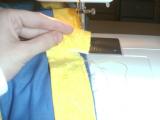
| Once it was tucked in, I pinned that bugger down - it was tough getting in there! 
| Then just stitch the last little bit and the binding is half on! 
|
Now just turn the quilt over, and pull the binding up and over the edge and sew it down. I tried a lot of different lining-up methods. I kind of went with 1/4" from the left edge. I used yellow thread all through, and it landed mostly on the binding on the other (front) side too. I didn't use pins, I just folded it over a few inches, to a foot, at a time. Corners were a little tricky, but I kind of just tucked the extra stuff in under the binding and stitched with the fly-wheel for a few stitches. 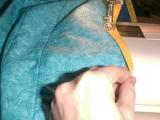
| Oh Wow! I finished my first quilt!!! 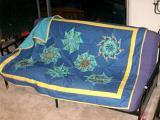
| And look, it hasn't lost its cat-magnetic properties in the process of being made! 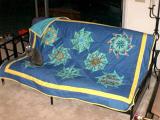
|